用Photoshop合成魔幻效果的创意人像脸谱
文章来源:未知
作者:老客SEO
人气:13
 2019-12-06 09:43:06
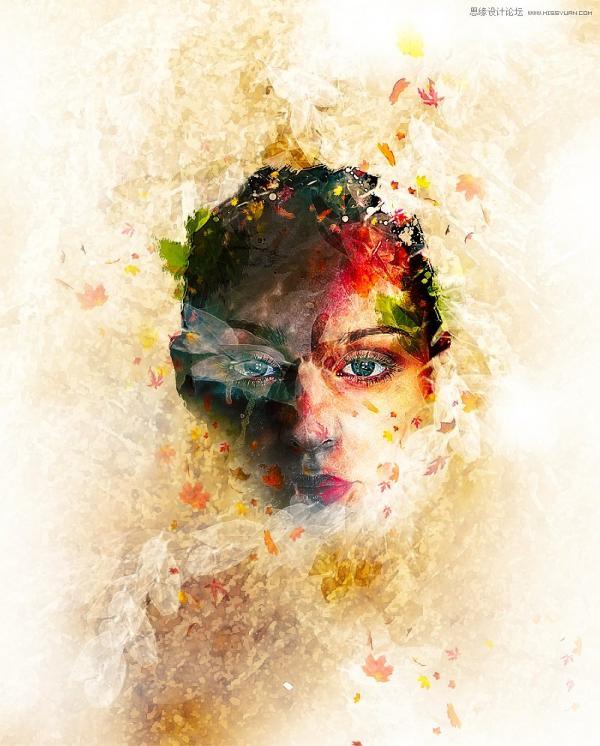
先看最终效果图:
第1步
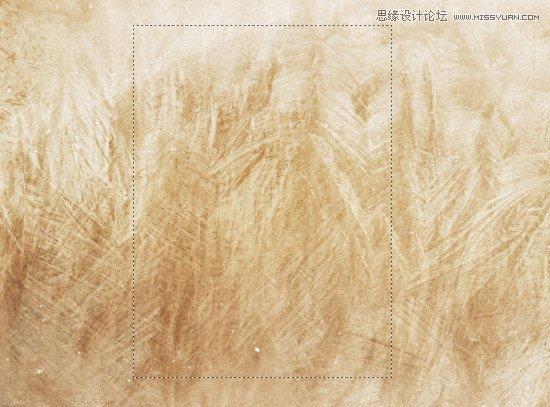
创建一个新的文档大小800px * 995px,白色背景。加载背景纹理图像输入Photoshop和选择以下部分:
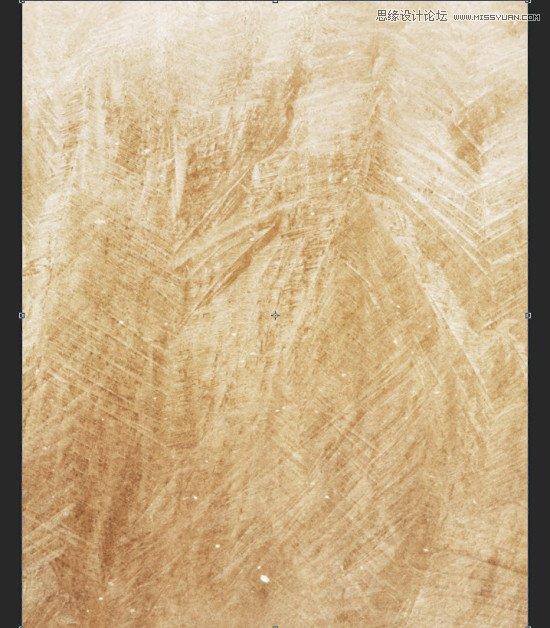
复制并粘贴选择了以文档并调整其大小以适应我们的画布:
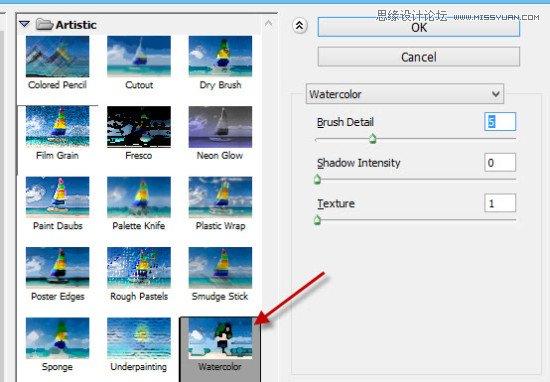
应用下面的“水彩”滤镜这个纹理层:
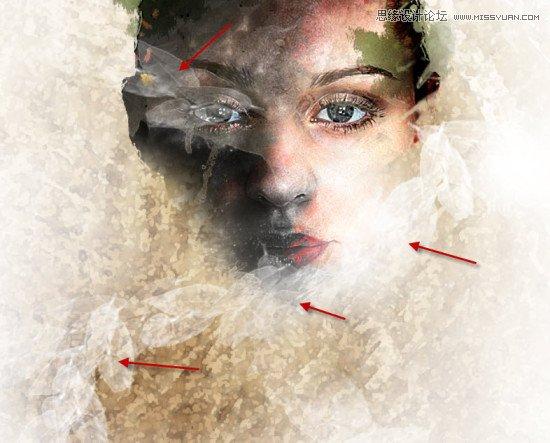
使用一个大的软的画笔蒙板去除纹理层以下部分创建一些深度:

第2步
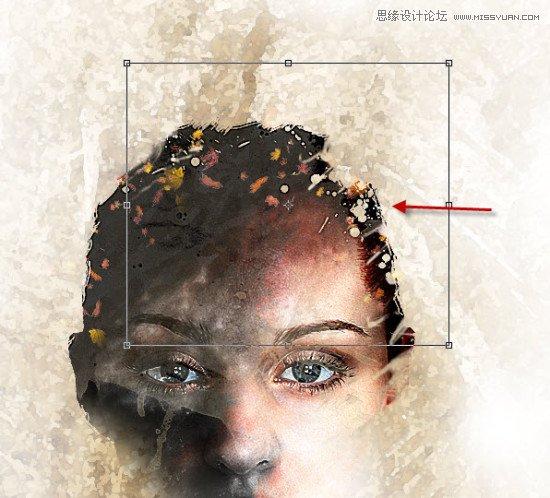
我们将在该操作的面部部分在此步骤。加载模型图像输入Photoshop和切出的头部和颈部,并将其粘贴到我们的文档。重规模,并将其放置到图示的中心:
建个图层蒙板,使用粗糙的画笔(请大家下载我提供的笔刷),涂抹边缘,如下图所示:(请确保您设置橡皮擦流量和不透明度为30%左右,这样你就可以做出细腻的边缘,这个不用按我的操作来大家看上办)
在脸的图层添加以下调整图层作为剪切蒙版
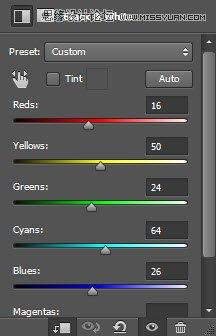
图层蒙版,黑白调整层:
水平
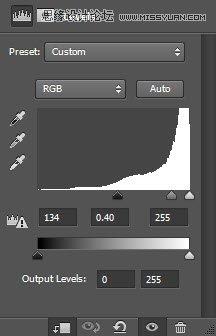
图层蒙版的水平调整层:
曲线
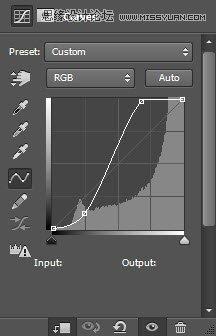
这里是这几步操作得到的效果,我们继续!
第3步
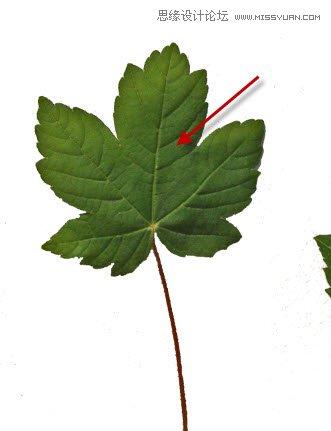
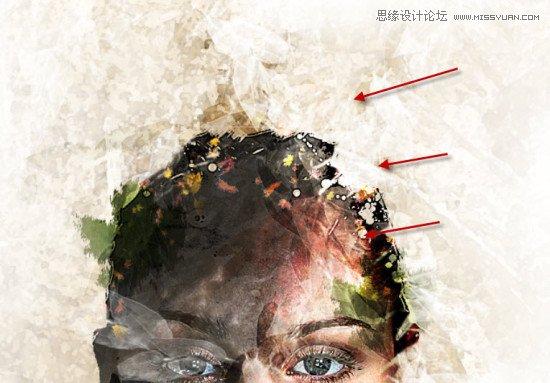
我们将开始添加的叶子1图片,使用套索工具选择以下部分:
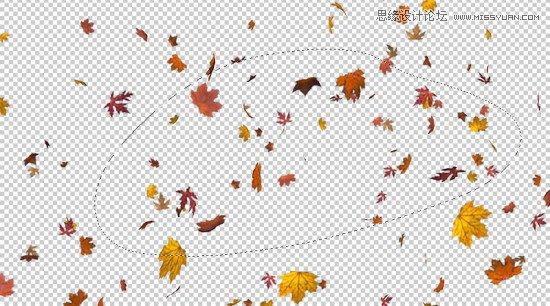
复制并粘贴选择我们的叶子,并调整其大小,如下图所示:
叶子图层改变图层混合模式为“屏幕”

重复此过程,和一些树叶添加到下面所示的区域:

第4步
加载叶子2图片到Photoshop中,选择下面的一段:
应用以下绘画涂抹过滤器:

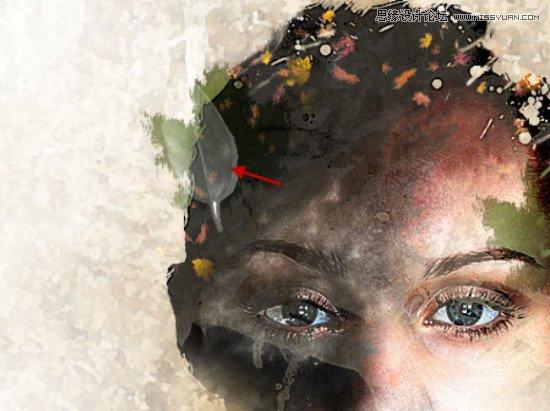
改变这种叶层的图层混合模式改为“正片叠底”。重复此过程,并在面部两侧加2叶:
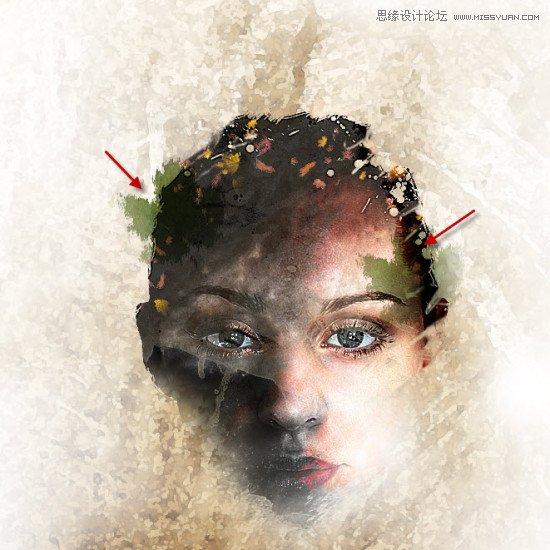
回到叶子2图像使用调整层里面的黑白,然后调出下面的效果

混合模式更改为“强光”

这个就是上述操作的效果
第5步
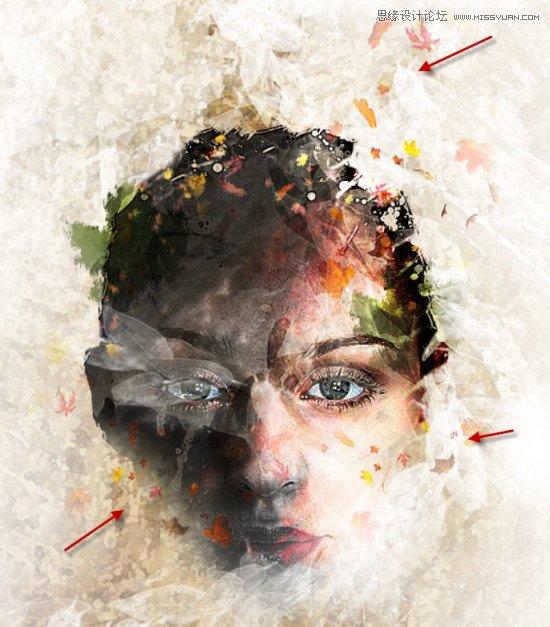
复制几片叶子。将混合模式为“屏幕”,然后使用自由变换工具旋转,调整成如下所示的效果:
添加一些更透明的叶子,如下图所示顶:
可以将图层混合模式改为“叠加”这样效果更赞~
第6步
我们几乎快完成了,在所有图层上新建 自然饱和度调整图层:
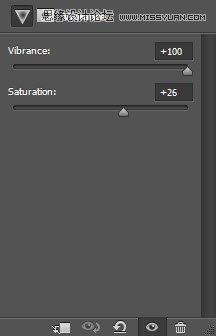
然后就得到了最后的效果